How to Setup SMTP Email Relay in Office 365
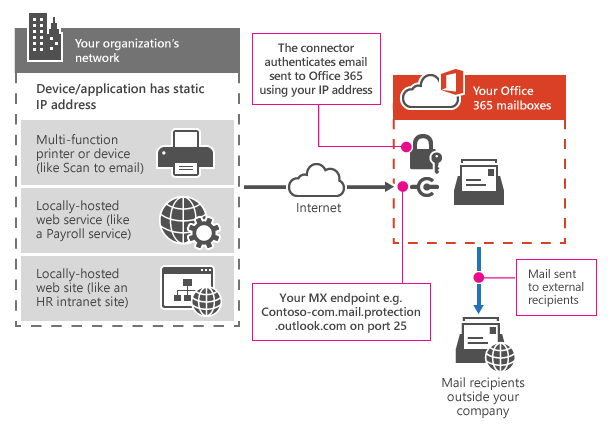
There are certain scenarios where you may want to relay email from a device such as a copier, scanner, PBX or some other network appliance that is running an email client. In this scenario, I suggest sending these emails using a generic relay email account (copier@yourdomain.com or scanner@yourdomain.com).

Using a dedicated relay email account allows you to have more control over what user account credentials are being stored in what devices. By using a single generic relaying account for all your network appliances, you can easily shutdown all outbound relaying by disabling just that one account, easily control password changes on your relaying accounts, and not have to enter actual user account information in devices that may not be running secure firmware.
In order to successfully relay through your Office365 Tenant, you will need to access the Microsoft 365 admin center and create a generic email mailbox for relaying. Once created you will then need to enable SMTP AUTH on this specific mailbox:
-
Open the Microsoft 365 admin center and go to Users > Active users.
-
Select the user, and in the flyout that appears, click Mail.
-
In the Email apps section, click Manage email apps.
-
Verify the Authenticated SMTP setting: unchecked = disabled, checked = enabled.
-
When you’re finished, click Save changes.
After the account has been created and SMTP authentication has been enabled, you can enter in the following email relay settings into your device:
| Device or Application setting | Value |
|---|---|
| Server/smart host | smtp.office365.com |
| Port | Port 587 (recommended) or port 25 |
| TLS/StartTLS | Enabled |
| Username/email address and password | Enter the sign-in credentials of the hosted mailbox being used |
Home » How to Setup SMTP Email Relay in Office 365 Tenant


