Usernames and passwords are a great way to protect your information in public workspaces. However, if you’re using your computer in a safe place logging in all the time can get tedious. If you want to cut through all that red tape and get to your desktop screen faster, auto logins are the answer.
How to Enable Auto Login with the Windows 10 Registry in 4 Easy Steps
Changing your registry is never a simple process and can have negative effects if done incorrectly. So before you start these steps, you should first create a recovery point on your computer.
Step 1 – Access The Registry
Click on the Start menu and select Run. You can also press the Windows logo key + R to get the same text box.
Step 2 – Open the Registry Editor

Step 3 – Locate the Propper Registry Key
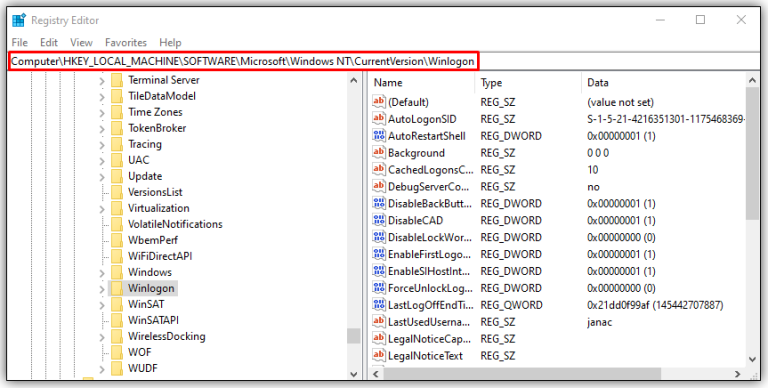
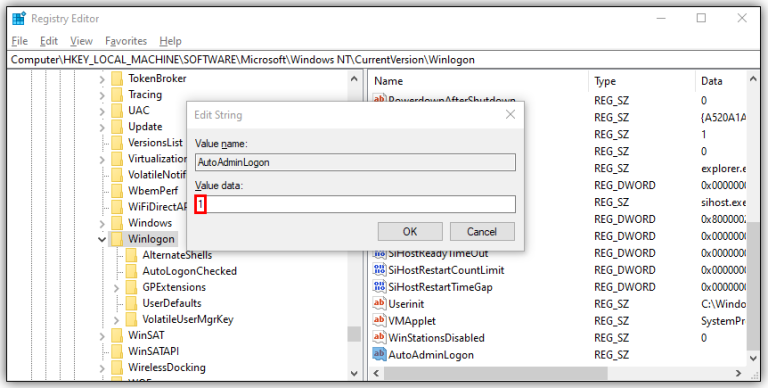
Step 4 – Add The Following Keys
Go to the Edit menu, select New and then String Value.

- DefaultUserName – This value should be the user account that you want to automatically logon (Case Sensitive).
- DefaultPassword – This value should be the password for the user account that you want to automatically logon (Case Sensitive).
- AutoAdminLogon – Set this value to 1
Now reboot your computer and it should automatically login using the account specified.